I am, for all intents and purposes, pretty lazy when it comes to editing images. I aspire to get things right in the camera, just to make life easier later…apart from some basic editing that most of us will do. A bit of cropping, some highlight or shadow work, maybe a bit of noise reduction…all seem reasonable to do without going overboard in editing.
Despite sounding a bit like an editing purist, I can assure you I am not…if digital editing tools exist, and they can benefit the photographer in some way, I say use them!
Just don’t expect them to fix everything with an image that’s off.
I like to tell friends, I learned a long time ago that you can’t polish a turd and make it look good.
In other words, if the focus is off, or if a picture is terribly underexposed, or any number of other issues are missed, there is only so much you can do to recover it. You simply can’t make it better with a lot of editing.
Now in most cases if an image is not sharp, or is blurred a bit, I’m just going to write it off and chuck it. I have better things to do than to mess with it. I’ve never been personally impressed with Photoshops shake reduction correction…although I have, now and again, used a bit of high pass sharpening and masking with some images just to tone them a up a bit. But they looked pretty good to begin with.
Every now and then though, I come across an image that’s just a smidge off…the image itself, the colors, or the composition is appealing to me in some way…so I may see if I can do something with it, just to save it for my own enjoyment, or maybe some simple sharing online, where the demand for better detail just isn’t as high.
Such was the case with the image profiled here. It was shot with the Olympus EM1-X along with the 300F4 Pro, and the new MC-20 2x extender. With this micro four-thirds camera, the 300mm lens provides and equivalent view of 600mm, and with the 2x added on, your looking at a 1200mm field of view.
Normally this combo will work quite well on static subjects such as perched birds, or slow moving wildlife. With the dual image stabilization in the body and lens, you can handhold this package with no problem. Things get a bit more tricky for me on moving subjects and birds in flight. But, the Olympus equipment can still deliver pleasing images. Most of the time I’ll use a gimbal and tripod, and once in awhile I’ll handhold it too…despite not being the steadiest guy on the block.
This image was shot at 1/1600, F8, Auto ISO @ 2000. I felt I tracked the flights better by hand, rather than a mounted set up. As you can see in the mostly unedited version below (no sharping or correction, just a basic crop, and a bit of a lowering of highlights and raising of shadows), the image is not quite sharp. It’s blurred a bit, and with me, normally that’s due to some shake issue…regardless of how high I go with the shutter speed, with IS on, or off, handheld or even mounted sometimes, I’ll see this at longer focal lengths. 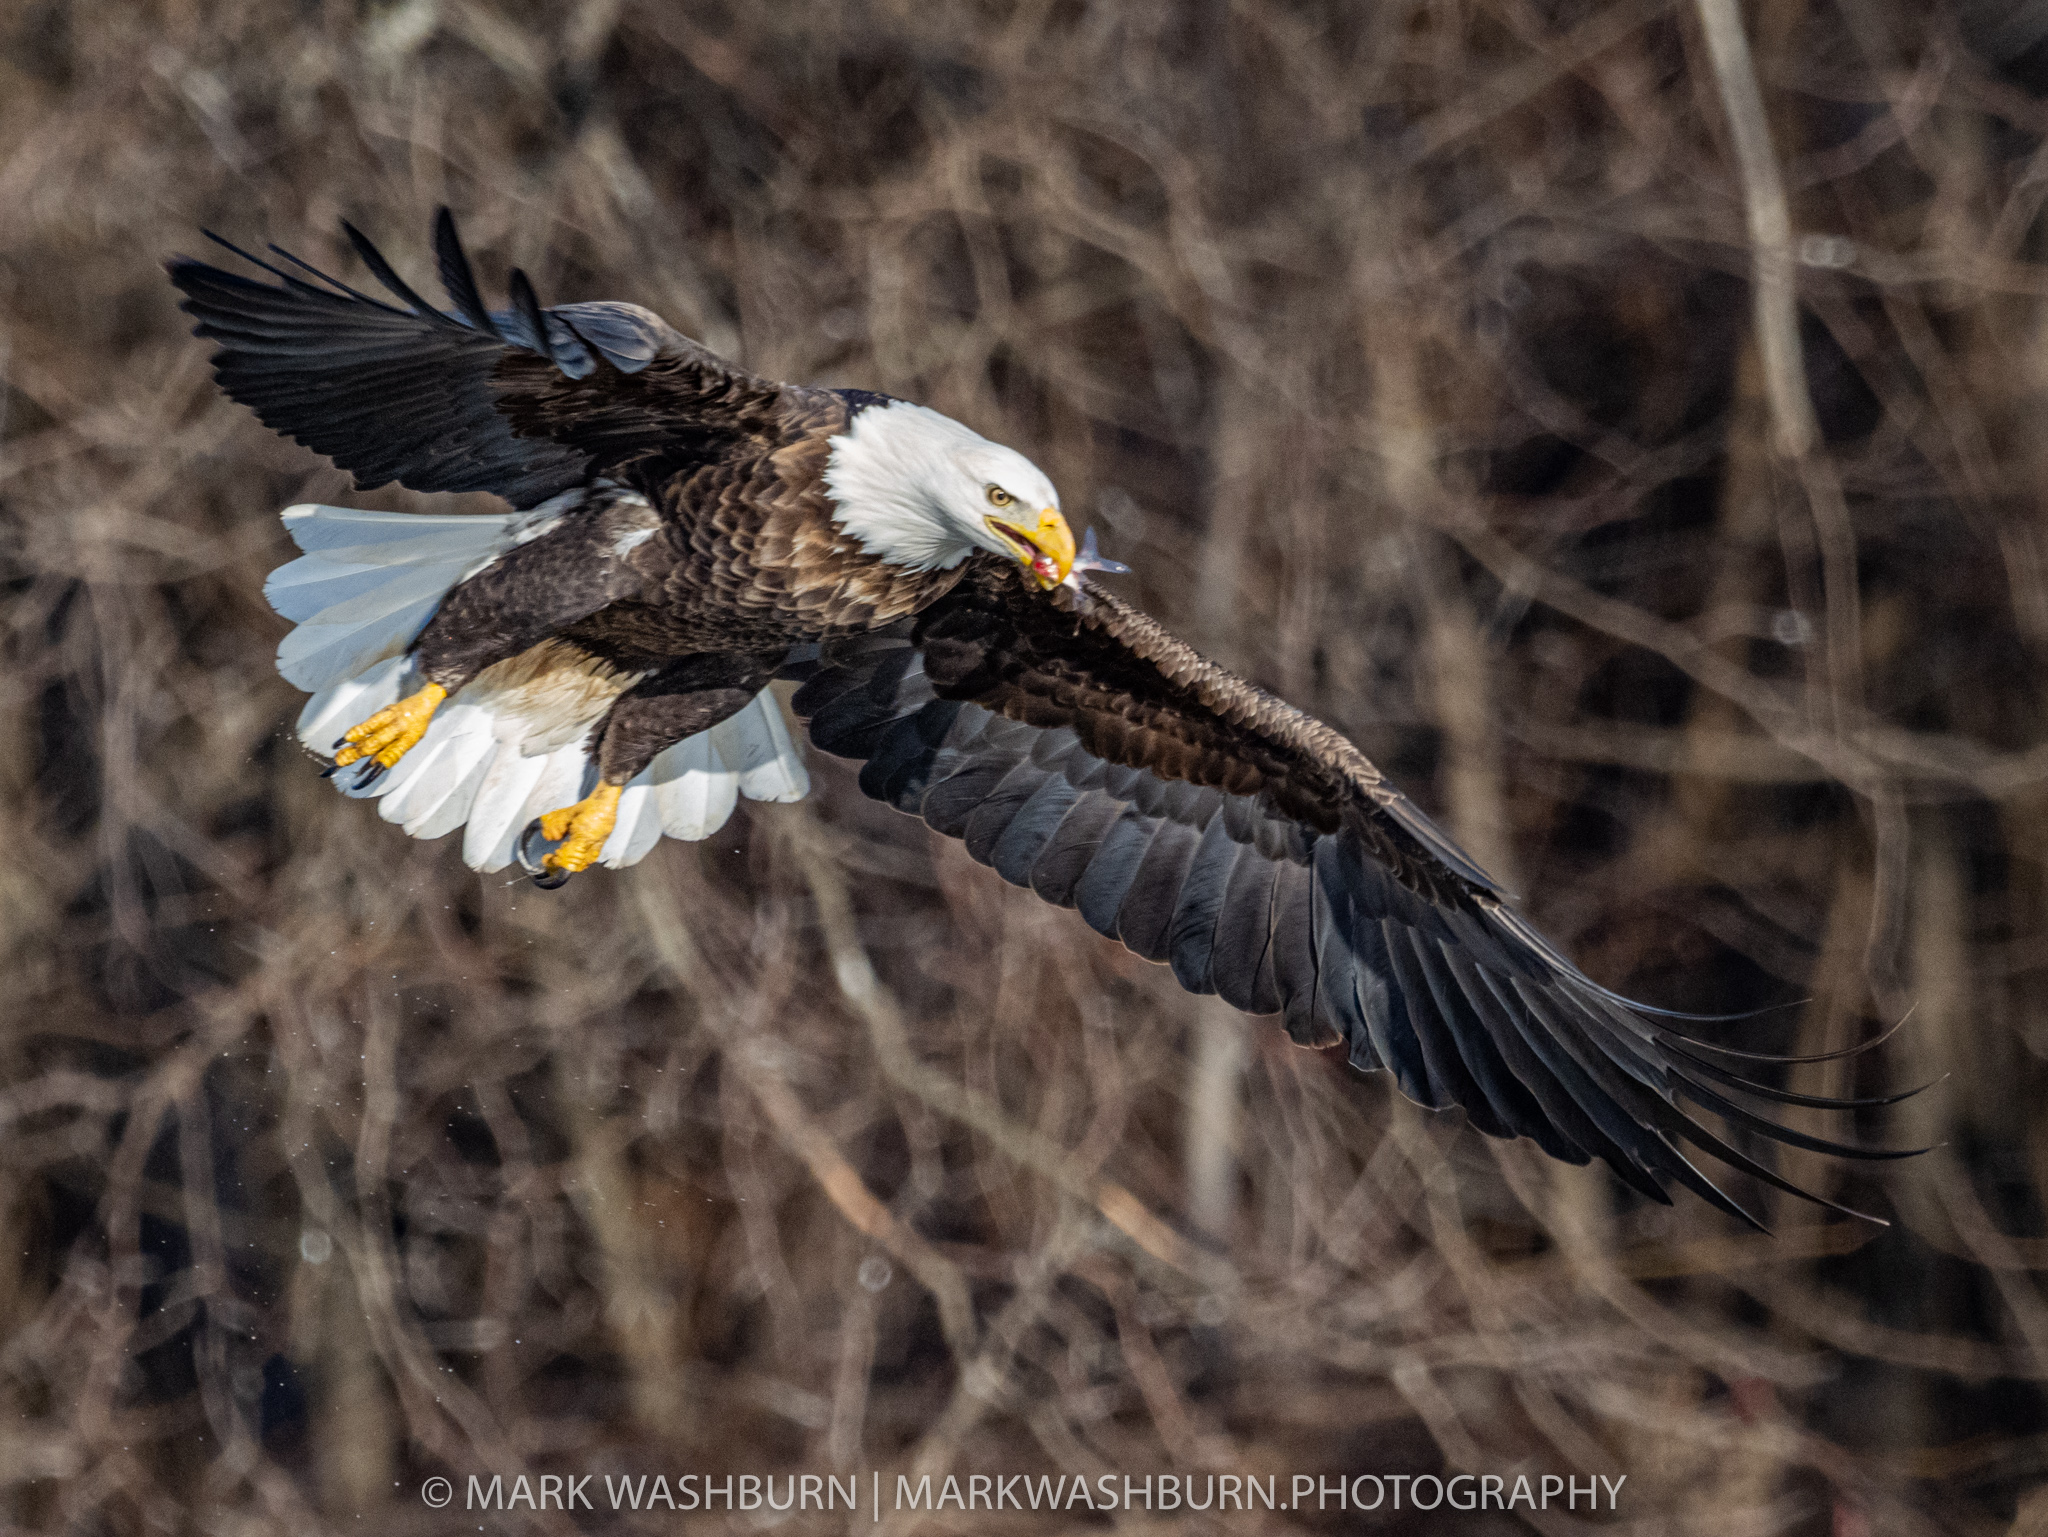
I liked this image…the birds wing positions, it’s effort to get a fish down the hatch, and the light was all appealing enough to mess with it a bit more before scrapping it.
As I mentioned earlier, I’m not a big fan of shake reduction software. Mostly I never felt that the after effect looked all that good with Photoshop. In the software’s defense, I also never spent a lot of time tweaking it either…but some very basic testing left me unimpressed. Most images looked over-processed, chunky, and just not very natural.
I have not used Topaz products much up to this point but I have enlarged images for bigger printing using the Topaz AI Gigapixel and thought it worked pretty well. And since Topaz offers a free trial with their software I thought I would give the Sharpen AI program a go.
Sharpen AI offers standard sharpening, stabilizing, and focus. For my purposes I worked with the stabilizing feature and ultimately came away impressed enough to write this post:) There is an auto setting available but I tweaked things a bit from what it recommended…lessening the blur removal amount, and noise handling. This is the final, fully edited image with more tweaks on color and contrast, and with the Topaz shake reduction applied. For me, this is an acceptable result…your tastes may differ.
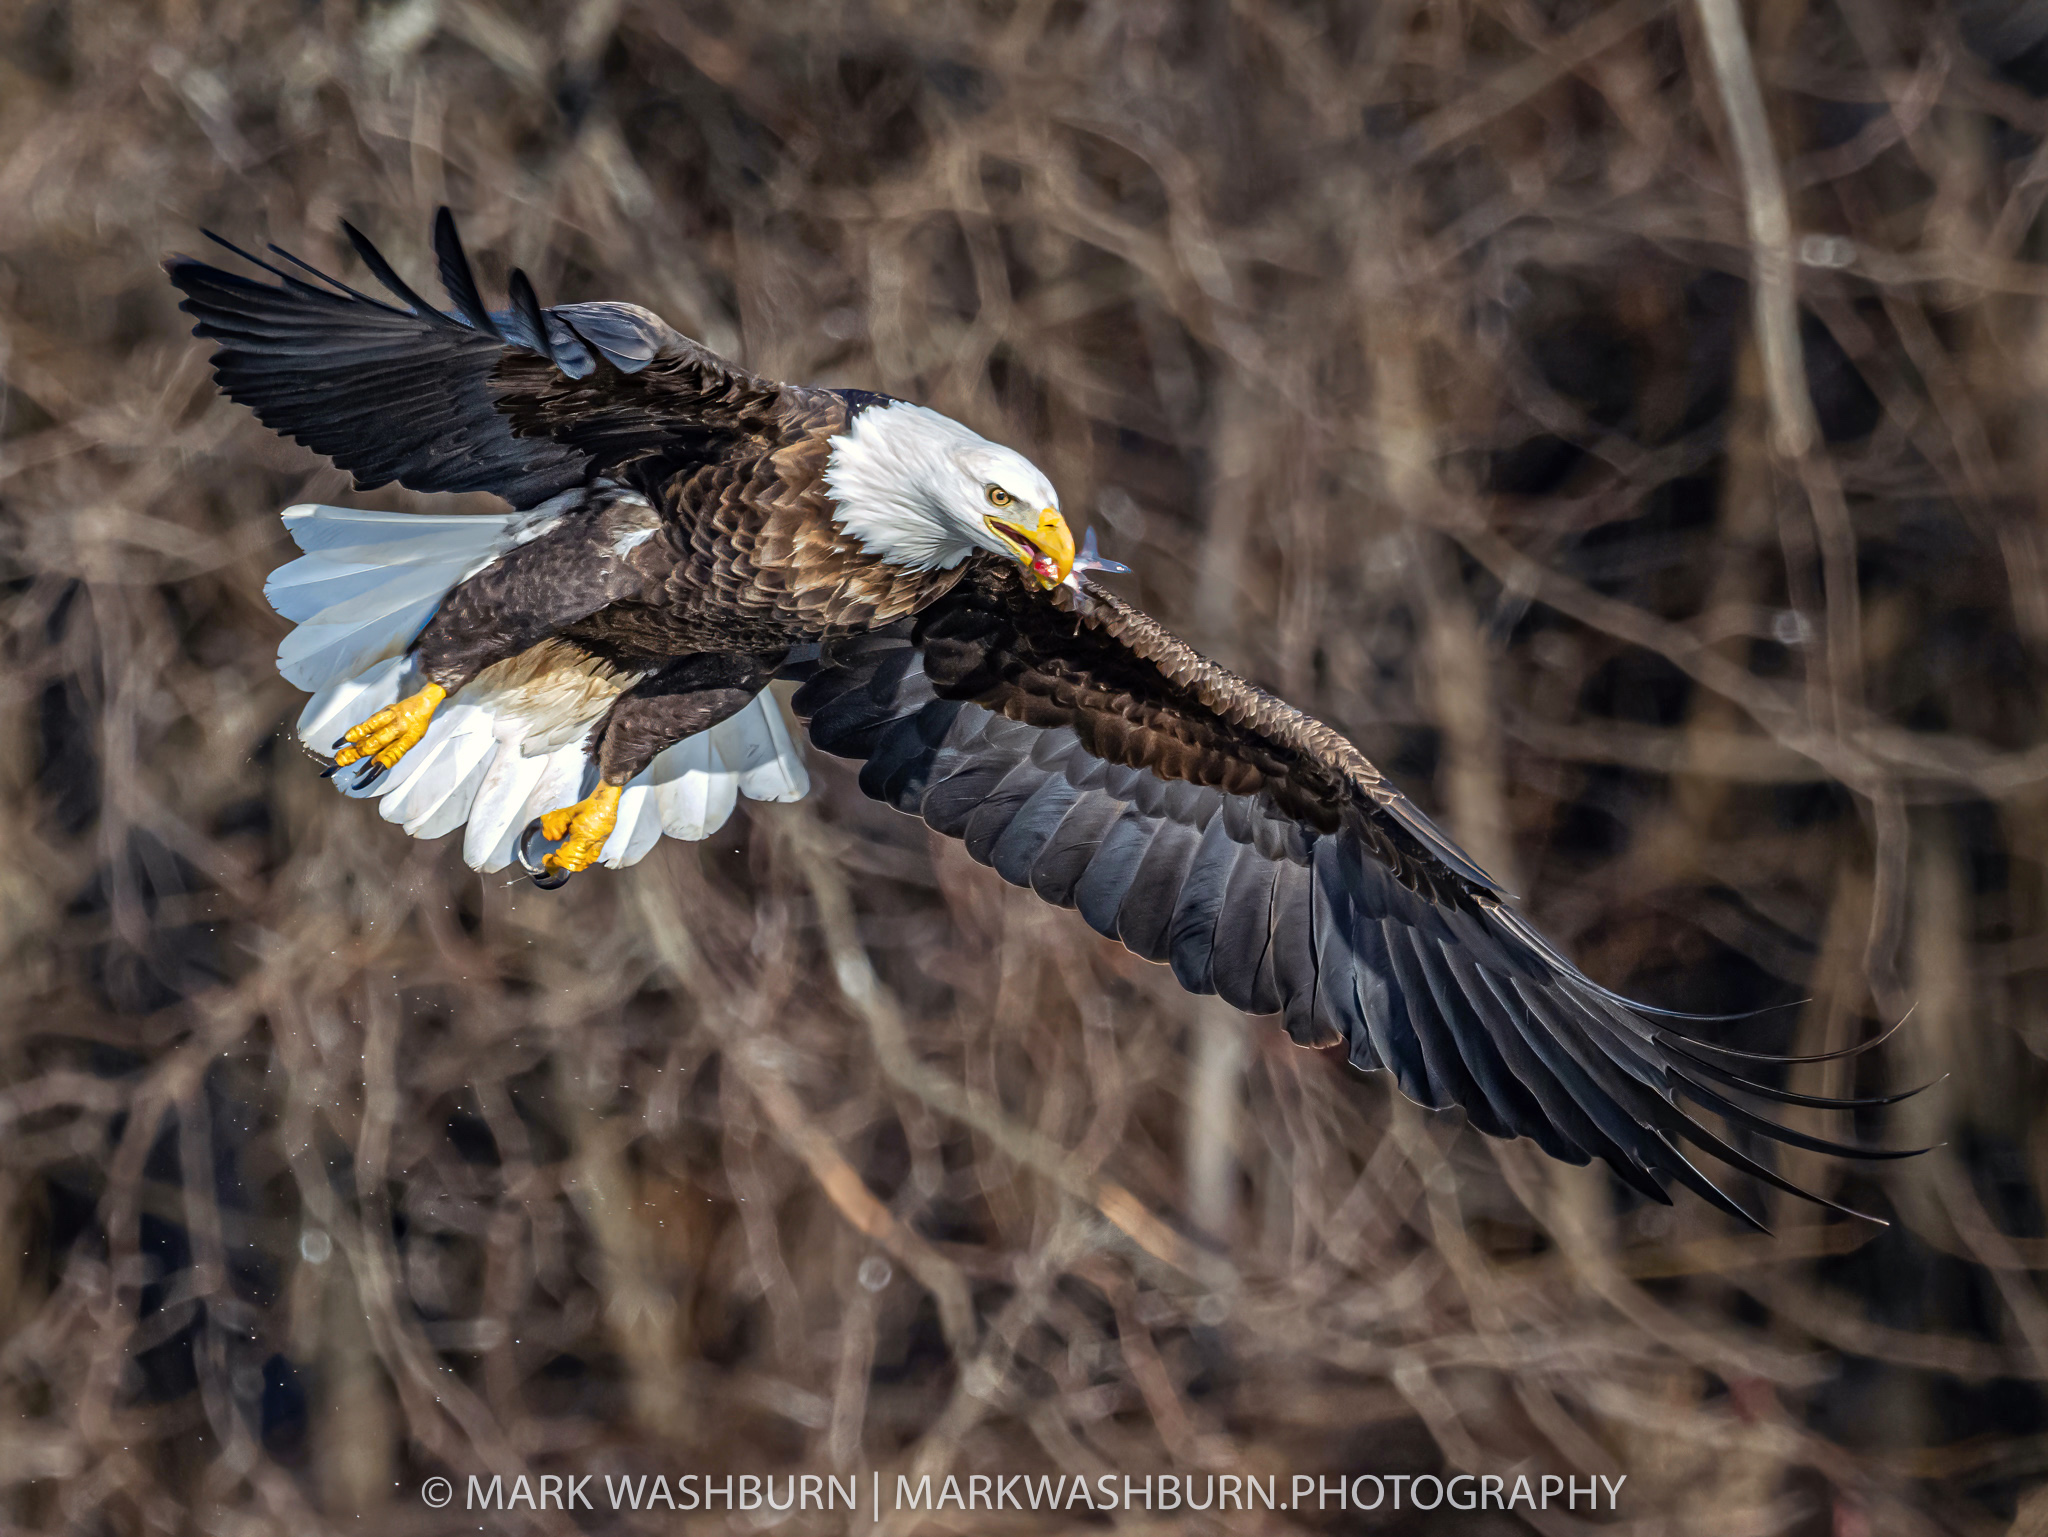
Using the Topaz software was very easy…there are just a few sliders to tinker with to get the image fine tuned. I wouldn’t call it speedy in its processing but that could have been more related to my computer than anything else. In the end I think it did a commendable job and allowed me to keep an image I liked, but would have normally thrown out for not being sharp enough for my tastes.
I don’t see myself using this program a lot, but like the Gigapixel offering, it could be worth it to keep around in case I want to tweak something else down the road. I’m just not a fan of leaning on software to fix a mistake that better technique or handling may have helped in the first place…I loath the idea of getting sloppy and fixing everything later. I say this with the full realization that I’ll never be perfect, and plenty of images will be culled in the future…even with great software in hand. Truth is, everything has its limits…you simply can’t polish a turd (or an image that’s too far gone) enough to make it look good.
But that’s just my mindset…and it keeps me working to do better with technique. I’m in no place to preach to anyone else about how they handle their images. Edit to your satisfaction! The most important things are that we have fun taking photographs, and we enjoy the ultimate results of our efforts. We are fortunate in this digital age to be able to edit images at will, and take them to places we once thought were impossible…or to recover or save a desirable image, through some simple steps, with capable software like Topaz Sharpen AI.
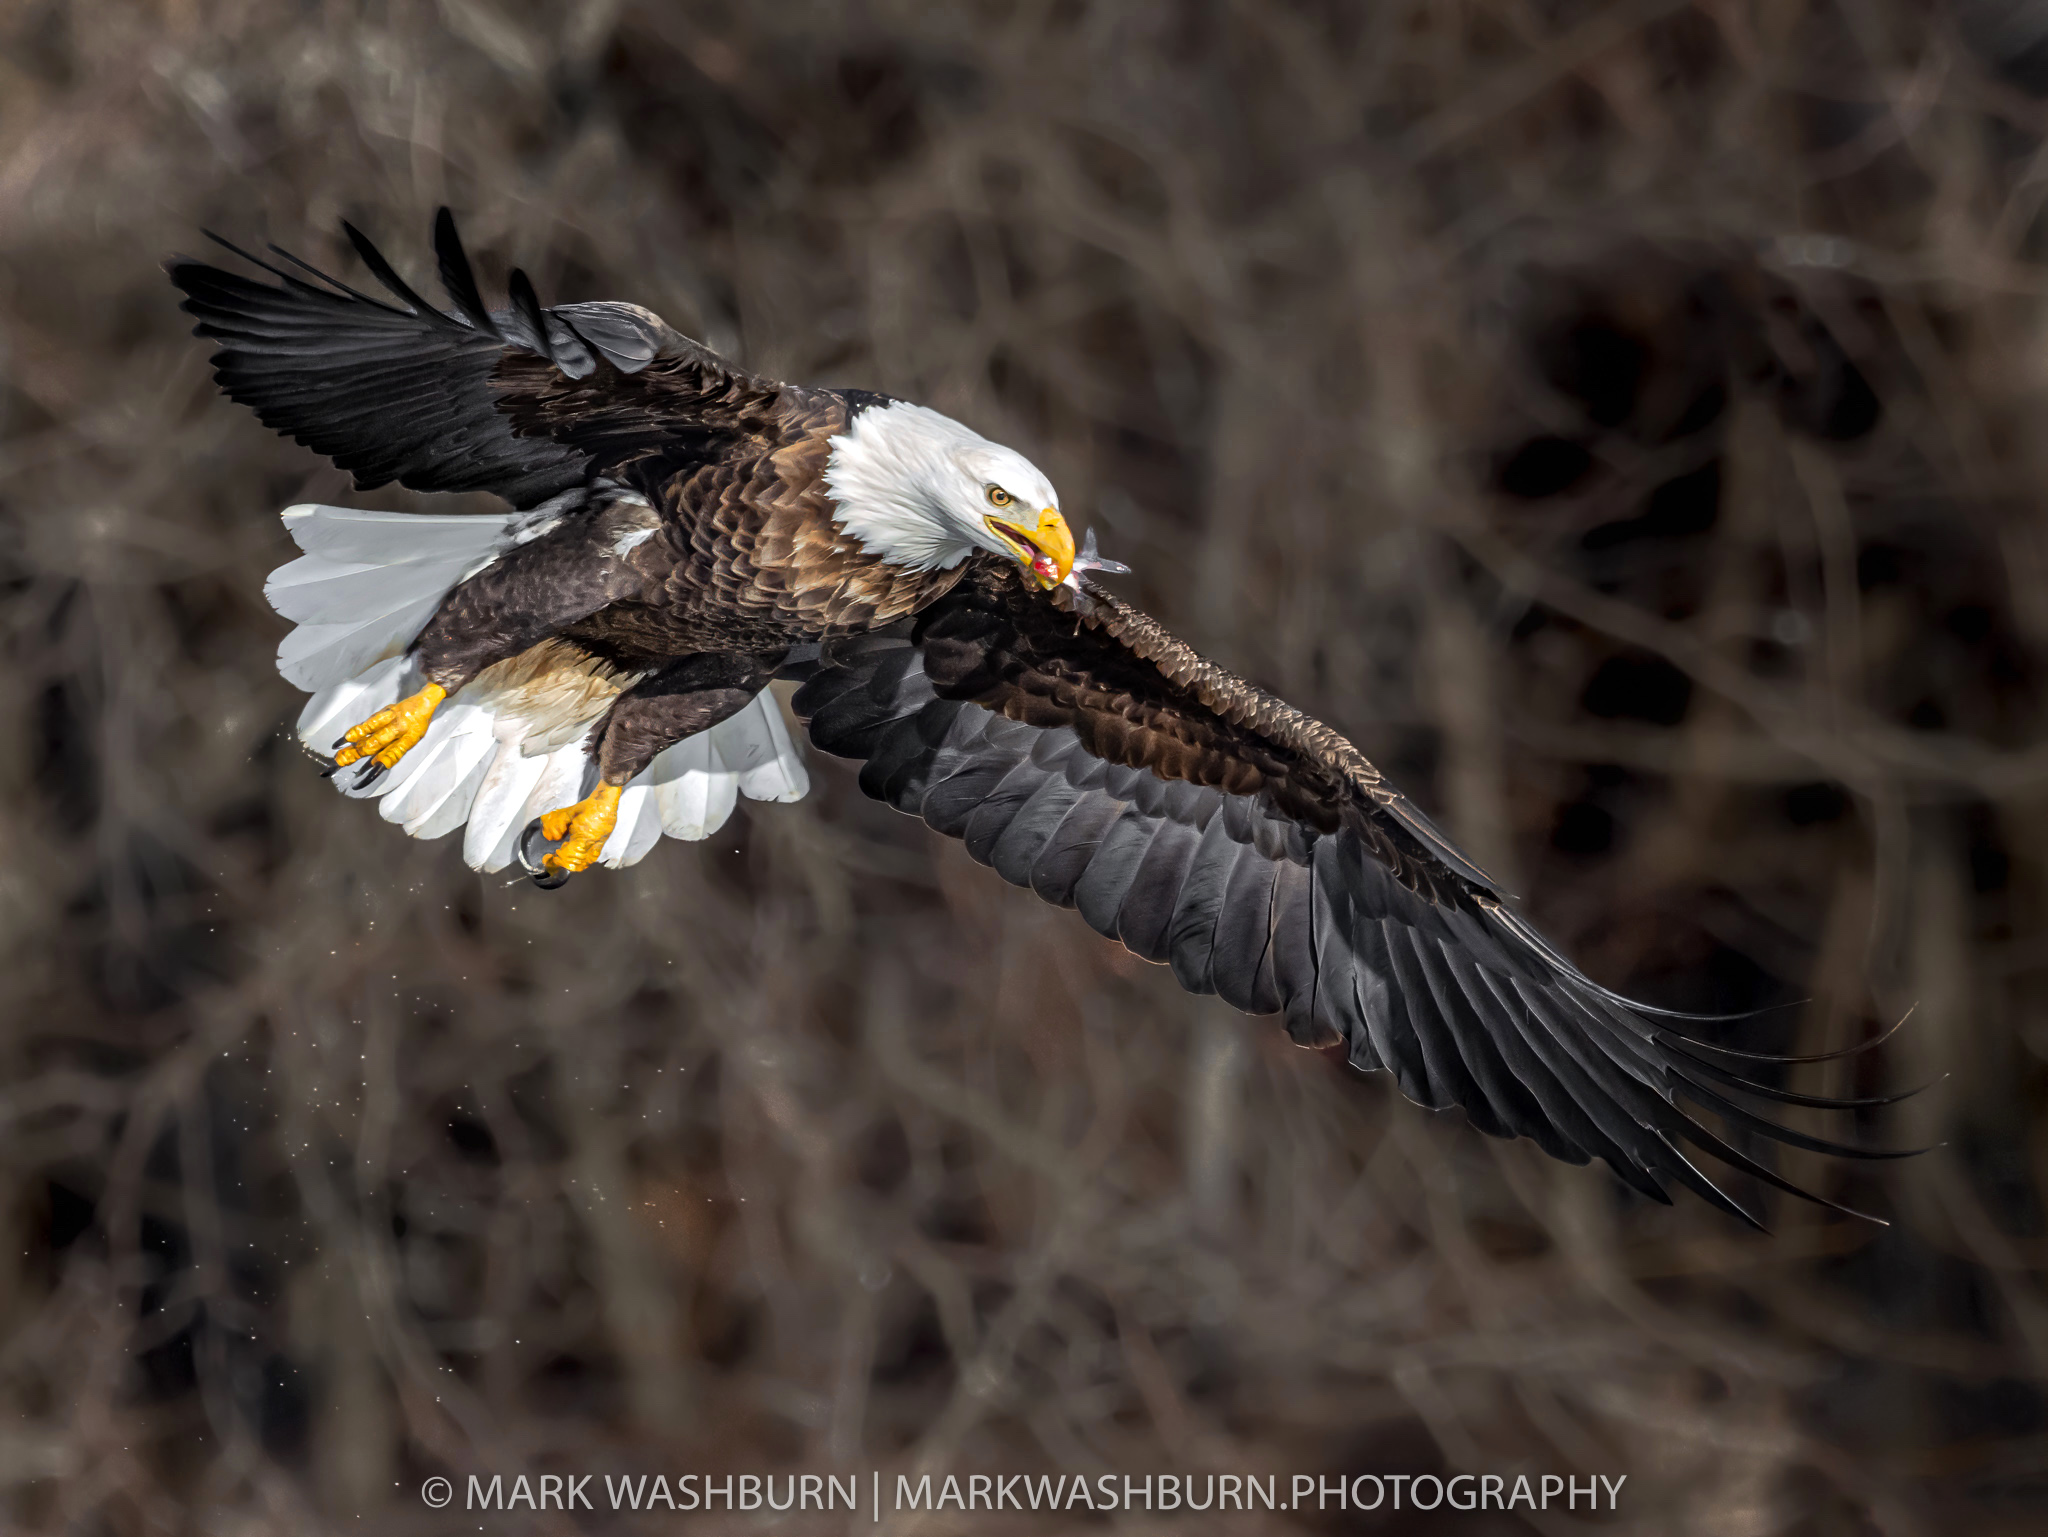
Addendum: After sharing this image and commentary on an Olympus Facebook Group, a couple friends noted that while they liked the image for the most part, the background was quite distracting and some of the colors were a bit rich or over saturated. After a re-evaluation I had to agree. There are actual color gradients in an eagles feathers…they are not simply brown or black, or what have you. And sometimes you do see a bit of a blue reflection as a bird nears the water below…which is actually the water reflecting the blue from they sky.
In the case of this image however, I too felt the blues were a bit strong or saturated and reducing these would make the image look more natural.
The image below reflects these suggested changes and I think it improves the image quite a bit. The background was addressed in LR, doing a simple mask with reduction in contrast and clarity…and as a test I followed this up in Photoshop with some blurring added to a layer mask there. The blue saturation was simply reduced in LR to the desired level…which I think came out around -88 on the slider. Between the two, I think the diffusion of the background was actually the most helpful.
Want to save some hard earned cash on your next purchase with Topaz? Here’s a link where you can get a coupon code that saves you 15% off anything in their store.